Bubbles. Where does your mind go when you think of these shiny spheres of soap?
I bet a lot of your memories take you back to being a child, running around the lawn in the summer, and trying to catch them before they touch the ground. Paint bubbles, on the other hand, bring none of those happy thoughts to the forefront of your mind. In fact they probably uncover feelings that are the polar opposite; annoyance, frustration, aggravation to name a few. The occurrence of a bubble, or blister as some in the painting world have named them, are dastardly obstacles that can take a perfectly fine paint job and change it from a weekend DIY project to a much more labor intensive endeavor. So let’s take a look at what causes these things to happen, how to fix them, and how we can properly prevent it from happening in the first place.
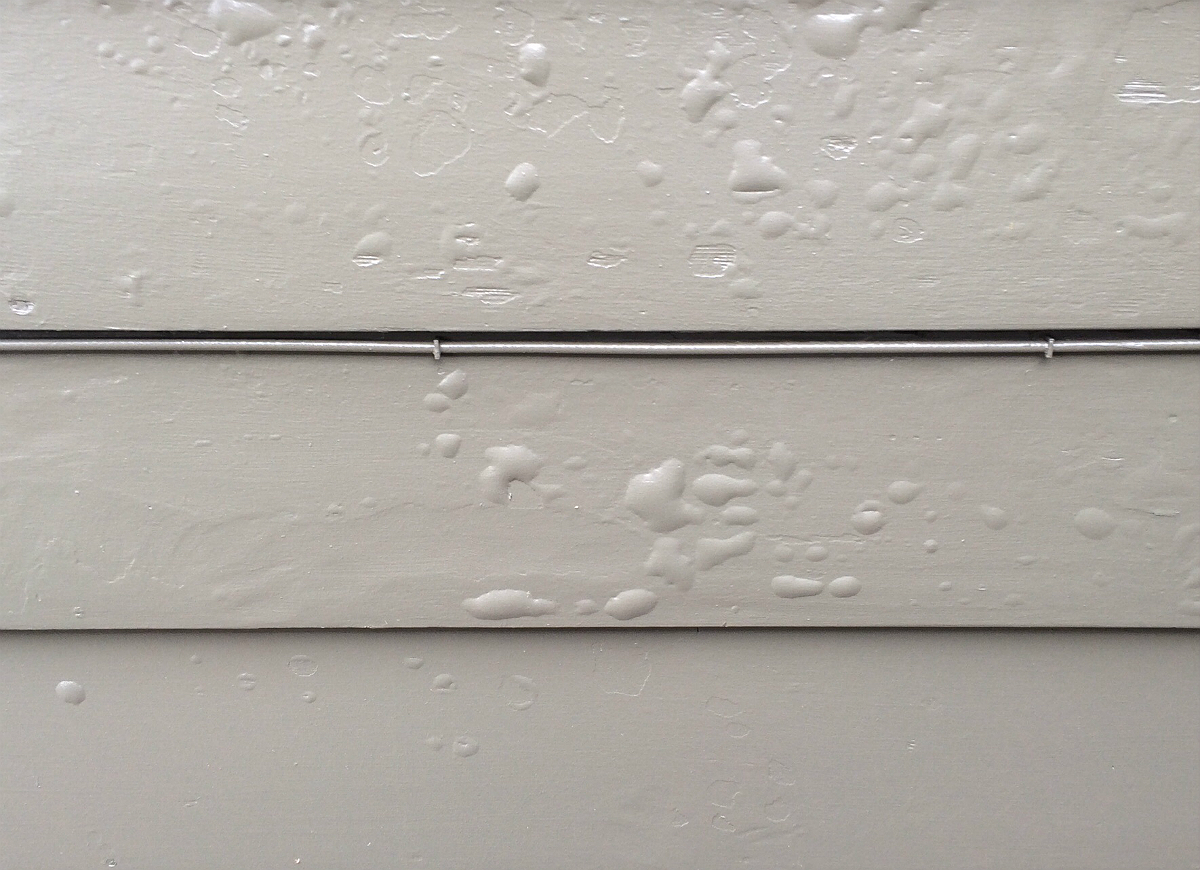
How do paint bubbles form? Why do they happen?
In reality, there is more than one answer to this question, one of which is as simple as the weather. This will in the vast majority of occurrences happen outdoors. Keeping it simple, don’t paint within hours of a storm because the moisture present in the air during this time as well as the rain itself can do its damage. It doesn’t matter if you want to paint before or after, just don’t. In one situation your surface could contain moisture before you begin painting and in the other, moisture could penetrate the surface before the paint is completely cured. Bubbles can also be caused by failing to properly prep your surface. Any type of dirt, grease (kitchens), or moisture on a surface can be the perfect formula for paint separation. Make sure that the designated area has been cleaned, is dry, and has been primed before application takes place.
But once paint bubbles form-and they will- what’s next? How are they fixed? There are a few videos out there that show using an iron on your wall for a quick fix, but it all honesty, the best thing to do is to scrape off the affected area and start over. Make sure the surface is smooth to a point where you can feel a difference between the painted and bare surfaces and also that any pits are filled in. Then prime and paint just as you had before. As long as you have prepped the area in the correct fashion, you should be good to go!
Prevention has been discussed above, but just to reiterate… prep, prep, and then prep some more. The best way to prevent bubbles from forming is to make sure that there is no dirt, dust, grime, grease, water, or whatever other substance you can think of present in the area you would like to paint.
Lastly, don’t forget to shield the area around which you’re applying the paint. There’s nothing worse than a job well done, only to find out some splatter ended up on your favorite chair, or that you’ve created more work for yourself because your brush accidentally dripped on the floor. One of the best ways to accomplish this is with Steelcoat High Density Painter’s Plastic, which will cling to any surface you need to protect with its Grip-N-Guard technology.
